
Jelly Roll Rug Patterns are versatile and popular, utilizing pre-cut fabric strips for a colorful, charming rug. Free PDF guides offer step-by-step instructions for crafters of all levels.
1.1 Overview of Jelly Roll Rugs
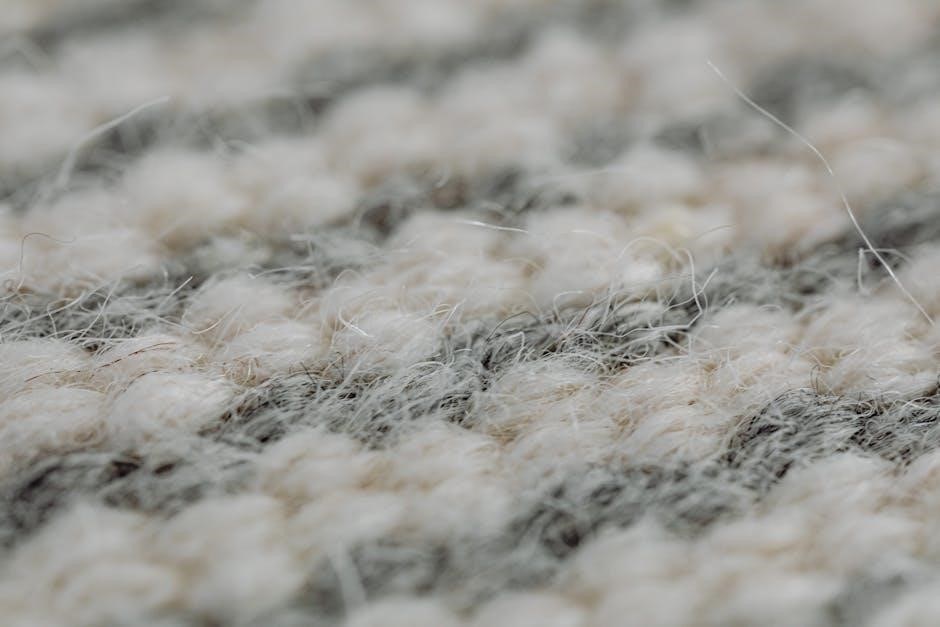
A Jelly Roll Rug is a vibrant and functional home decor project made using pre-cut fabric strips, known as a Jelly Roll. These rugs are perfect for adding a pop of color and texture to any room. They are typically made in oval or round shapes, with sizes ranging from small placemats to large floor coverings. The process involves sewing the fabric strips together with batting, creating a sturdy and cozy finish; Jelly Roll Rugs are ideal for crafters of all skill levels, offering endless customization options. Whether placed in a sewing room, living area, or by the fireplace, these rugs bring a touch of handmade charm to any space.
1;2 Benefits of Using a Jelly Roll Rug Pattern
Using a Jelly Roll Rug pattern offers numerous advantages for crafters. These patterns are user-friendly, providing clear instructions for both beginners and experienced makers. The use of pre-cut fabric strips saves time and ensures consistent results. Patterns often include tips for customizing sizes and shapes, allowing for personalization. They also provide guidance on materials, reducing guesswork and potential mistakes. Additionally, many free PDF patterns are available online, making it accessible to start a project without costs. The step-by-step approach ensures a professional finish, making Jelly Roll Rug patterns a great choice for creating beautiful, functional home decor items with ease and confidence.
Materials and Supplies Needed
A jelly roll, batting, thread, sewing machine, scissors, ruler, and fabric marker are essential. These materials ensure a professional finish and ease of creation.

2.1 Fabric Requirements: Jelly Rolls and Batting
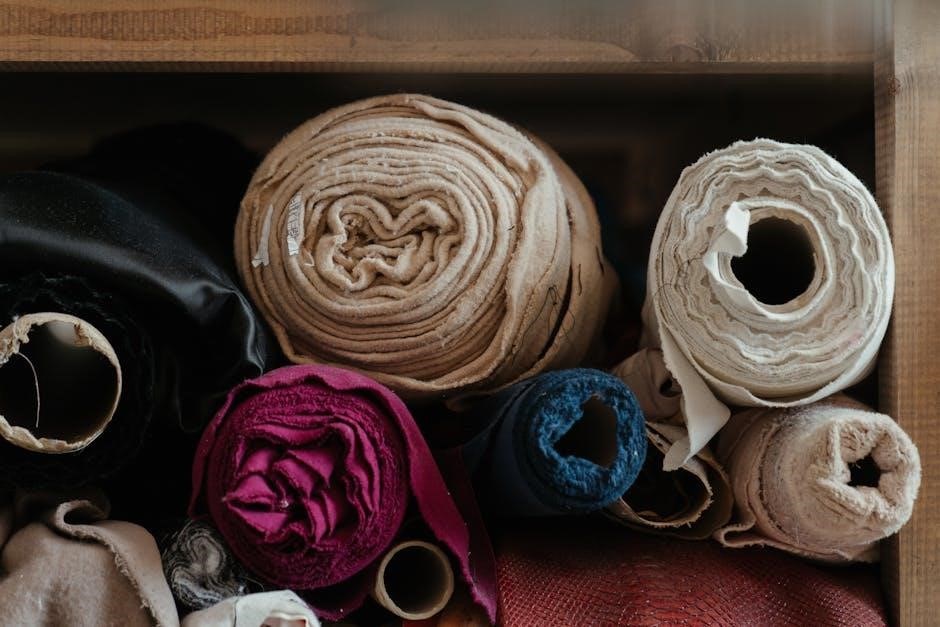
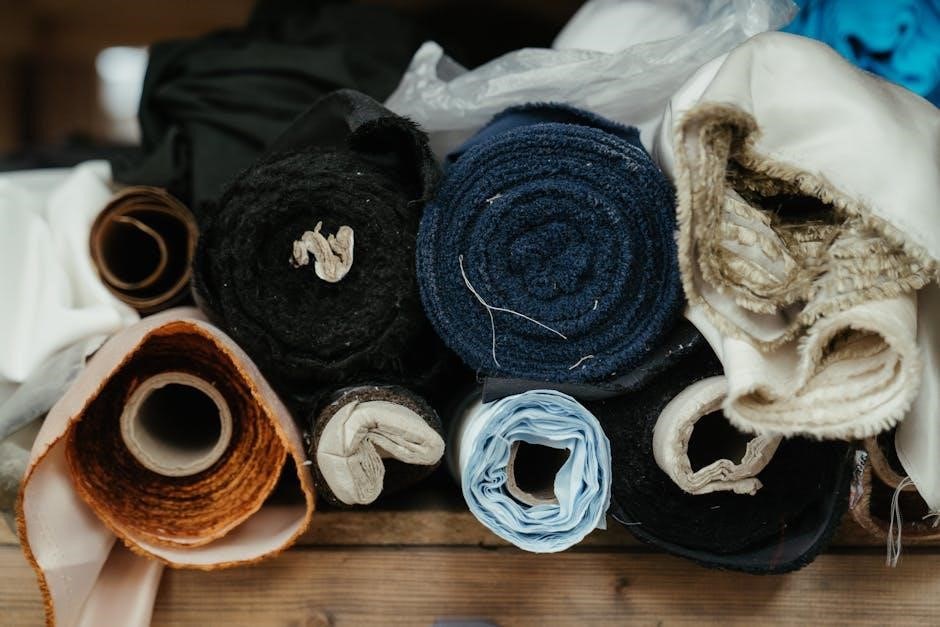
A jelly roll is essential, consisting of pre-cut 2.5″ x 44″ fabric strips. Batting rolls, typically 25 yards each, are needed for layers. Coordinating colors and patterns enhance the rug’s visual appeal. Always ensure sufficient fabric for the desired size and shape. Jelly rolls provide convenience, while batting adds thickness and stability. These materials are readily available in craft stores or online. Proper measurement and preparation are key for a professional finish.
2.2 Essential Sewing Tools for the Project
To create a jelly roll rug, you’ll need a reliable sewing machine, sharp scissors, and a ruler for precise cuts. A walking foot or even feed attachment is crucial for smooth stitching. Fabric markers and pins help align strips accurately. Optional tools include a rotary cutter and mat for efficient fabric preparation. A steam iron and starch ensure a crisp finish. For batting, denim needles are recommended. These tools ensure a professional look and make the sewing process efficient. Proper tools are vital for achieving a polished, durable rug.
Step-by-Step Guide to Making a Jelly Roll Rug
Begin by unpacking your jelly roll and preparing fabric strips. Follow the pattern to sew strips together, then layer with batting and backing for assembly.
3.1 Preparing Fabric Strips and Batting
To start your jelly roll rug, begin by unpacking your jelly roll, which contains pre-cut 2.5″ wide fabric strips. These strips are specifically designed for easy use in rug-making projects. Next, prepare your batting, which provides padding and stability to the rug. You can either use pre-cut batting strips or cut your own from yardage. Ensure all strips, both fabric and batting, are aligned and ready for sewing. This step is crucial for a smooth assembly process. Proper preparation ensures your rug will lay flat and maintain its shape over time. Keep your tools, like scissors and a rotary cutter, handy for any necessary adjustments.
3.2 Sewing the Strips Together
Once your fabric strips and batting are prepared, it’s time to sew them together. Begin by aligning the first fabric strip with a batting strip, ensuring they are evenly matched. Sew along the length of the strips using a 1/4-inch seam allowance. Repeat this process, adding each subsequent strip to the previous one, ensuring the edges align perfectly. As you sew, gently press the seams with an iron to flatten them, preventing bulk. Use a walking foot or even feed foot on your sewing machine to guide the fabric smoothly. This step-by-step process builds the foundation of your rug, creating a continuous, sturdy design. Keep sewing until your rug reaches the desired length.

Tips and Tricks for a Perfect Finish
Achieve a polished look by using fusible fleece and steam iron for crisp folds. Ensure tight seams and trim excess batting for a professional finish.
4.1 Avoiding Common Mistakes in Jelly Roll Rugs
Common mistakes include uneven strip alignment, insufficient batting, and loose stitching. To avoid these, use a walking foot, pre-cut strips accurately, and maintain consistent tension while sewing. Properly aligning each strip ensures a smooth, even surface. Cutting batting slightly narrower than fabric strips prevents bulkiness. Using high-quality thread and maintaining steady pressure on the sewing machine helps prevent loose seams. Additionally, pressing as you go keeps the rug lying flat and avoids wrinkles. Following these tips ensures a polished and professional finish for your Jelly Roll Rug.
4.2 Adding the Finishing Touches
Finishing your Jelly Roll Rug involves securing the edges and adding a polished look. Trim excess batting and fabric evenly, then fold the edges over twice for a clean border. Topstitching with coordinating thread enhances durability and aesthetics. For a crisp finish, use a steam iron and optional Best Press Starch to eliminate waves. Binding the edges with a matching fabric strip ensures a professional appearance. Finally, inspect the rug for any loose threads or uneven stitching and make necessary adjustments. These final steps complete your handmade Jelly Roll Rug, making it ready to adorn your home with style and charm.

Advanced Techniques for Customization
Elevate your Jelly Roll Rug with unique designs and shapes. Use various patterns and colors to create personalized styles. Add intricate stitching or appliqué for a custom look.
5.1 Creating Different Shapes and Sizes
Discover how to craft Jelly Roll Rugs in various shapes and sizes to suit any space. From circular to oval designs, the flexibility of Jelly Roll strips allows for endless creativity. Use free PDF patterns to guide you in creating small placemats or large floor coverings. Experiment with different strip arrangements to achieve unique forms. Whether you prefer a cozy 17×33-inch rug or an expansive 42×60-inch version, the right techniques ensure a perfect fit. Customize your project by adjusting strip counts and layouts to match your desired dimensions and aesthetic preferences. This versatility makes Jelly Roll Rugs a fun and adaptable DIY project for all skill levels.
5.2 Incorporating Personalized Designs
Add a personal touch to your Jelly Roll Rug by incorporating unique designs that reflect your style. Use fabric strips from meaningful collections or add embroidery for names, dates, or symbols. Choose colors that match your home decor or experiment with contrasting patterns for a bold look. Personalized designs make your rug truly special, whether it’s a gift or for personal use. Tools like fabric markers or appliqué can enhance customization. This creative freedom allows you to turn a simple rug into a heartfelt, one-of-a-kind piece that tells a story. Personalization adds emotional value, making your Jelly Roll Rug even more treasured.
Where to Find Free Jelly Roll Rug Patterns
Discover free Jelly Roll Rug patterns on websites like Shabby Fabrics, RJ Designs, and Roma Quilts. These sites offer downloadable PDFs for various rug styles and sizes, perfect for crafters seeking creative projects without costs. Explore their collections to find the ideal pattern for your next handmade rug, ensuring a fun and budget-friendly crafting experience.
6.1 Recommended Websites for Free PDF Downloads
For free Jelly Roll Rug pattern PDFs, visit websites like Shabby Fabrics, RJ Designs, and Roma Quilts. These platforms offer a variety of downloadable patterns, catering to different skill levels and design preferences; Shabby Fabrics provides detailed tutorials and video guides, while RJ Designs specializes in unique shapes like round and oval rugs. Roma Quilts offers customizable patterns, allowing crafters to personalize their projects. Additionally, craft blogs and sewing communities often share free patterns, making it easy to find the perfect design for your next project. Always check for updates and new releases to explore fresh creative possibilities.
6.2 Tips for Adapting Patterns to Your Needs
Adapting Jelly Roll Rug patterns to suit your preferences is easy with a few tips. Start by adjusting the size or shape—use more strips for a larger rug or experiment with round or oval shapes. Mix and match fabric collections to create unique color schemes. Add personalized touches like appliqué or embroidery for a custom look. For functionality, ensure proper batting and thread choices. Use 2.5″ fabric strips for consistency, and consider starching strips to reduce waves. Experiment with different sewing techniques, such as zigzag stitching, for a decorative edge. These tweaks allow you to tailor the rug to your space and style while maintaining its charm and functionality.
Creating a Jelly Roll Rug is a fun and creative project. With free PDF patterns, you can easily make a beautiful, functional rug for any space.
7.1 Final Thoughts on Making a Jelly Roll Rug
Creating a Jelly Roll Rug is a rewarding project that transforms fabric strips into a beautiful, functional piece for your home. The process is straightforward, and with free PDF patterns, anyone can achieve professional results. The sense of accomplishment is immense, especially when you see your personalized design come to life. Remember, precise seam allowances and quality materials are key to a polished finish. Don’t hesitate to experiment with colors and patterns to make your rug truly unique. Once completed, your handmade rug will add warmth and charm to any room. Happy crafting and enjoy your new creation!

7.2 Encouragement to Start Your Project
Starting your Jelly Roll Rug project is an exciting journey! With free PDF patterns readily available, you can dive in confidently. Don’t be intimidated—each step is manageable, and the results are incredibly rewarding. Gather your materials, follow the guide, and watch your creativity unfold. The process is therapeutic and fun, offering a sense of accomplishment with every seam. Whether you’re a seasoned crafter or a beginner, this project is a great way to express your style. So, take the first step, enjoy the process, and soon you’ll have a beautiful, handmade rug to cherish. Happy sewing!